After upgrading to Snow Leopard I found that my PDF printer was broken. The good news is that if you upgrade to Acrobat 9 then you can again print to PDF however the bad news is its not free. After no luck from Adobe technical support I took the bold move to e-mail one of the Acrobat team and ask how to create pdf files in the same way it was before. Luck was in my
favour and he responded very quickly and was very helpful. The following is a quick tutorial on how to generate a pdf file in Acrobat 8 pro under OS X 10.6.
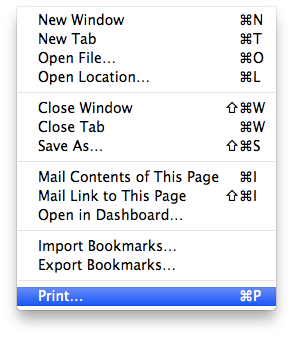
1. Select the document you want to turn into a pdf. In this case I chose the apple home page in safari. Go to the file menu and select print.
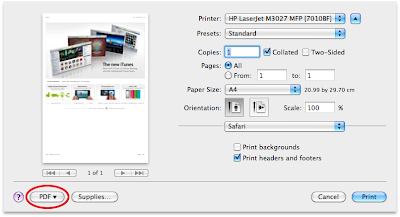
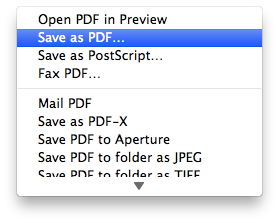
2. From the print dialogue box click on pdf in the bottom left of the window and select "save as PDF..."
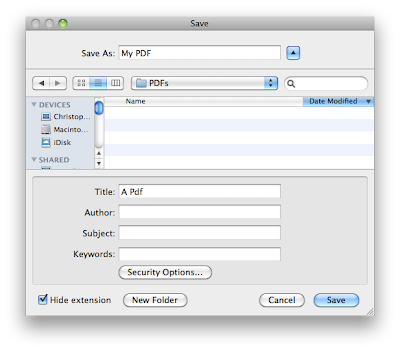
3. Choose a name and location to save the pdf and click save
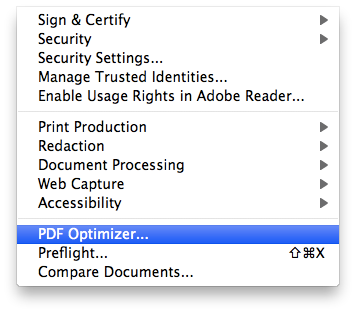
4. Open your newly created pdf file in Acrobat Pro and from the Advanced menu select "PDF Optimizer"
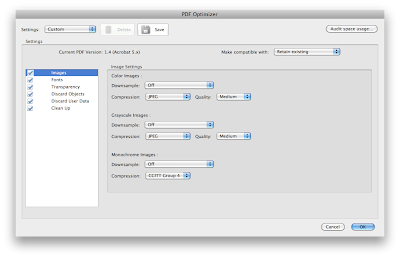
5. At this point you can either review and change the optimisation settings such as picture compression or font embedding or just accept the default settings and let Acrobat do its thing.
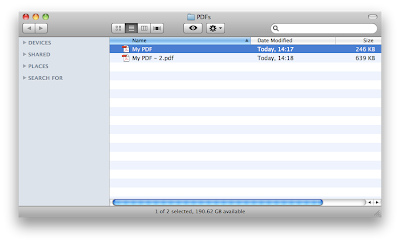
6. I have included a screen shot showing the file size change from the original file to the smaller optimised file produced by Acrobat